We have decided to go with ol' favourites - Banana, Pineapple, Strawberries and Apples!
Bananas
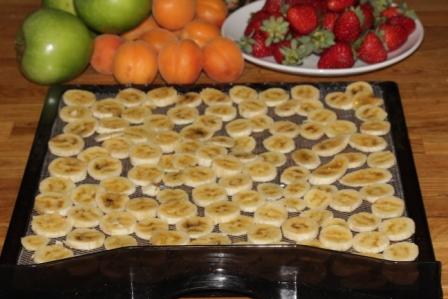
The easiest way to slice the banana is working from one end to the other and slicing into approx. 3mm thick slices (think like a $2 coin).

Then, simply lay out onto the Bio Chef Trays, try and ensure none are over lapping.
Pineapple

And now for Mr.Pineapple... Take his top off (seriously...), and remove the outer skin. Slice into 5mm pieces and feel free to keep the core in (does not add a bad texture, just a bit chewy in the center).

Take the top leafy part off the strawberry, and then continue to slice the strawberries into 3mm slices. They will dehydrate down to quite a small amount, so do a big bunch at once!


Apples
You will need to remove the core from the apple, we have used a normal kitchen apple corer to do this. We leave the skin on our apples for chewiness, but feel free to remove the skin if you wish.

...
Place the trays into your Bio Chef and lock trays into place.


No comments:
Post a Comment